
Tutorial 6.3: Tool Execution Callbacks
Tool execution callbacks allow you to monitor when agents use tools, track their execution lifecycle, and analyze the results. This provides visibility into how agents interact with external systems and APIs.
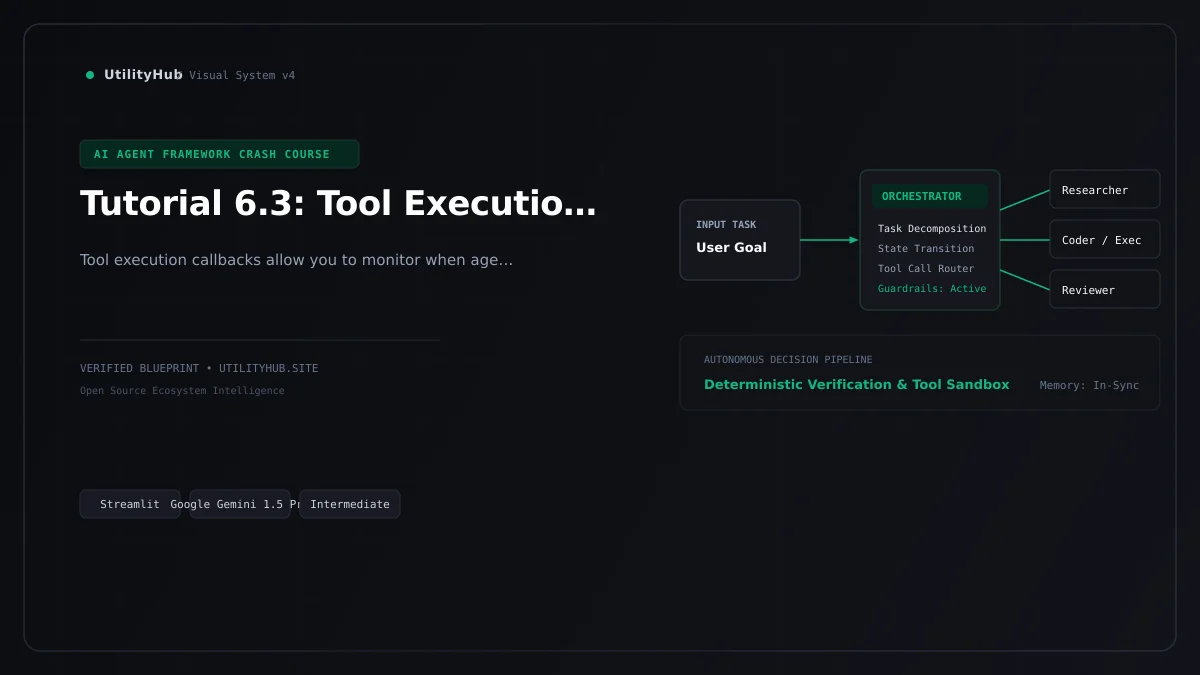
At a Glance Specifications
01 // What It Does
This blueprint illustrates how to construct a robust autonomous react agent loop utilizing Streamlit. It showcases clean separation between user input handling, LLM prompt formatting, external tool execution, and response synthesis.
02 // How It Works & Architecture
The architecture leverages Streamlit to manage conversation state while isolating API calls and tool definitions. This prevents context bloat and ensures predictable execution paths during multi-step reasoning cycles.
03 // Real-World Use Cases
- • Building internal developer tools and automation agents for tool integration & extensible agent servers.
- • Serving as an architectural reference for enterprise workflows requiring reliable tool calling.
- • Prototyping next-generation AI applications with minimal operational dependencies.
Technical Boundaries
Relies on upstream LLM API uptime and latency. Requires careful token budget management for long conversational contexts and sandboxing for untrusted external tool executions.
Production Considerations
For production deployment: introduce persistent session storage (e.g., Redis or PostgreSQL), implement strict rate limiting and request timeouts, add OpenTelemetry tracing for agent observability, and enforce granular RBAC for all executed tools.
Need this deployed or customized for your business? UtilityHub Engineering can help.
From private LLM orchestration and custom tool connectors to security audits, observability, and dedicated cloud hosting — get production-ready support for Tutorial 6.3: Tool Execution Callbacks.
Why This Project Matters
As AI systems evolve from passive text generators into active decision-making agents, understanding how to cleanly wire tool calling, retrieval, and state management in Streamlit is critical for engineering reliable software.
Quickstart Setup Guide
# 1. Clone the upstream repository
git clone https://github.com/Shubhamsaboo/awesome-llm-apps.git

# 2. Enter this blueprint directory
cd awesome-llm-apps/ai_agent_framework_crash_course/google_adk_crash_course/6_callbacks/6_3_tool_execution_callbacks

# 3. Create and activate a Python virtual environment
python3 -m venv venv
source venv/bin/activate  # Windows: venv\Scripts\activate

# 4. Install dependencies
pip install -r requirements.txt

# 5. Export required API keys in your environment
export OPENAI_API_KEY="your-api-key"

# 6. Execute application entrypoint